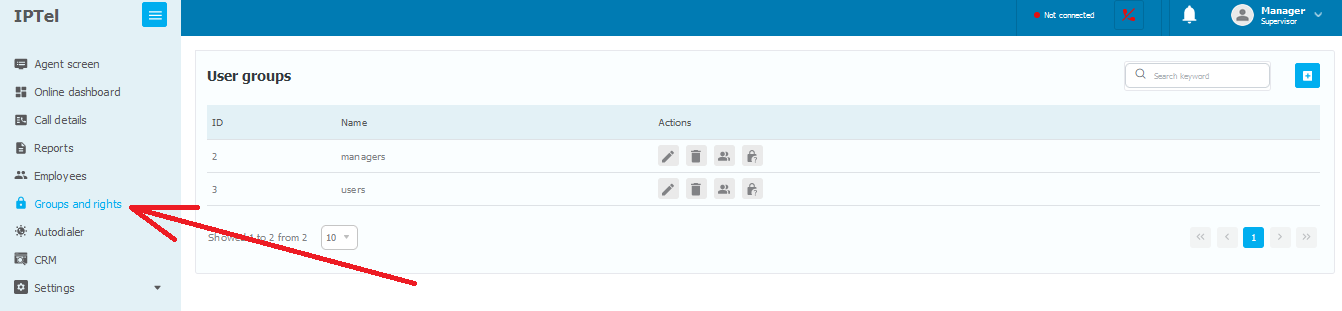
Groups and permissions

General information

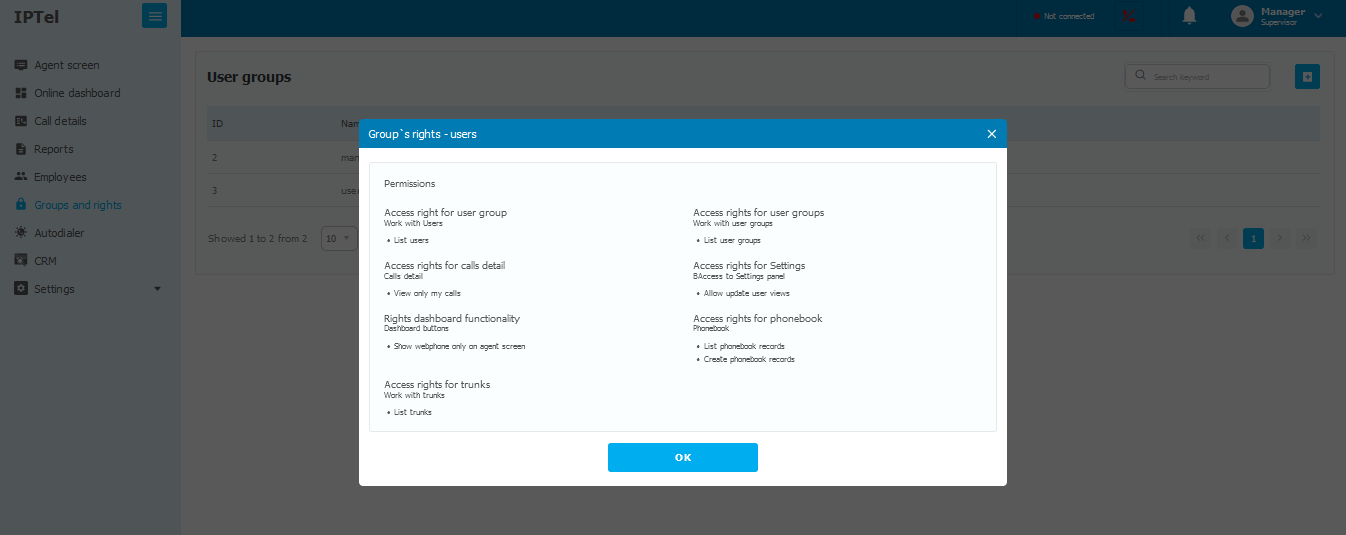
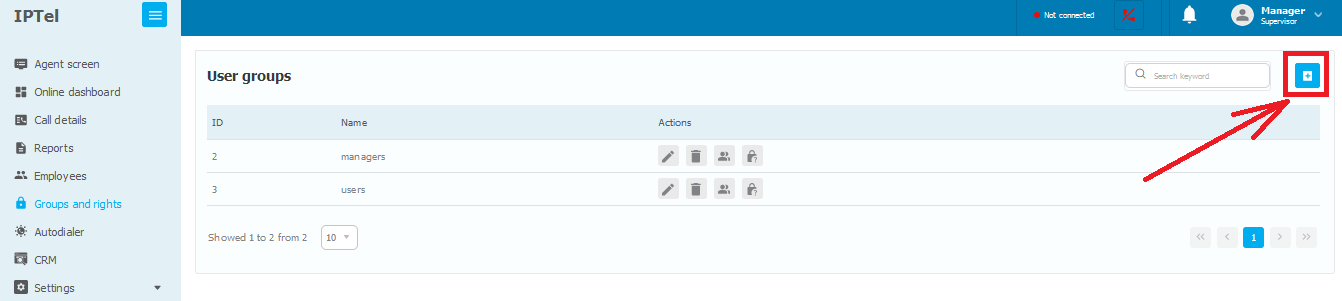
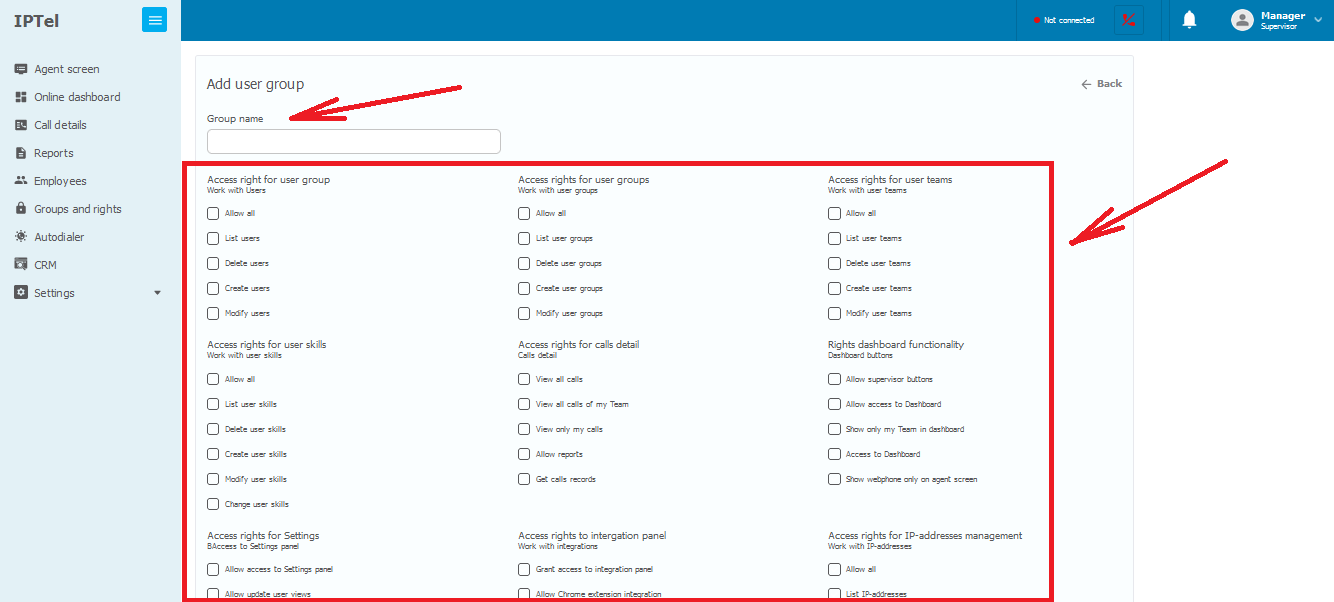
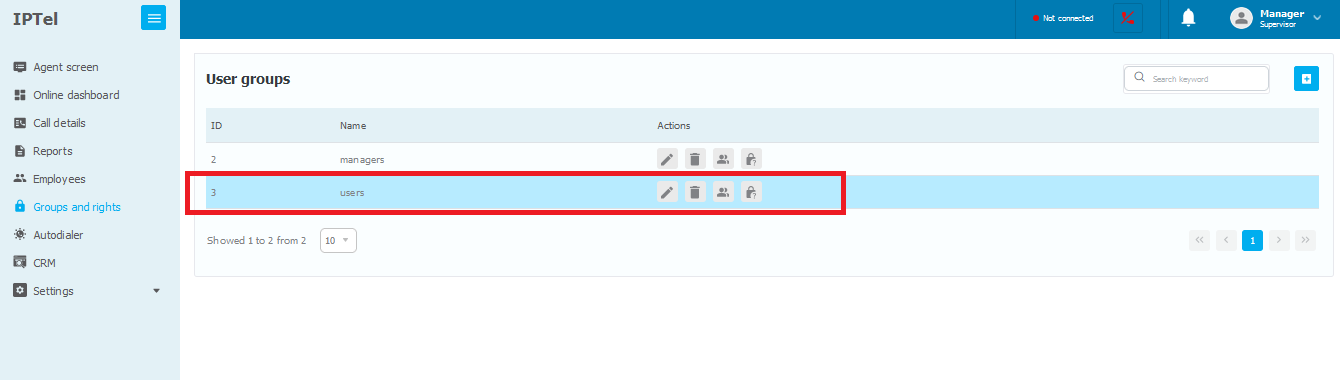
User groups in the web interface of the call center play a key role in ensuring security, efficiency, and system management.
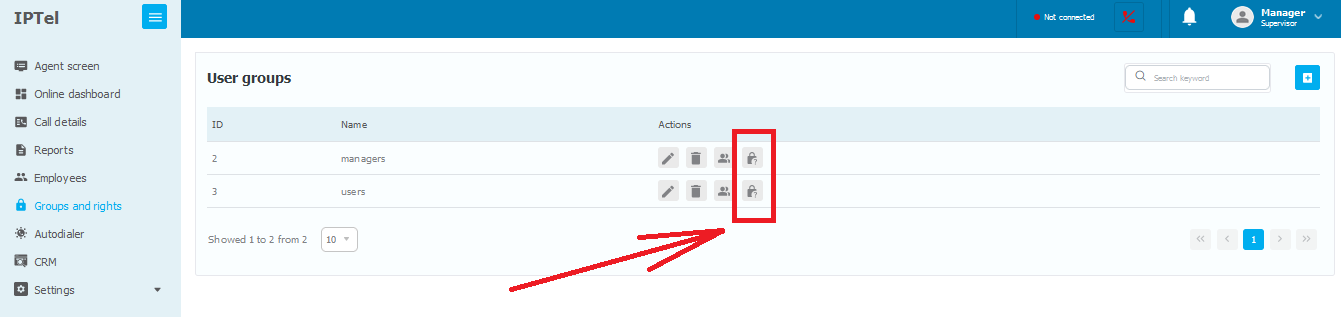
  • User groups allow restricting access to confidential information. For instance, administrators may have full access to all functional blocks while operators may be limited to only specific functions necessary for their work.
  • Limiting access rights helps prevent unauthorized access to sensitive information and minimizes the risk of information leakage.
  • User groups enable configuring functionality to align with the roles and duties of specific employees. This helps make the interface more intuitive and efficient for each category of users.
  • Certain groups may have access only to those sections of the system that are relevant to their job duties, reducing information overload and simplifying work.
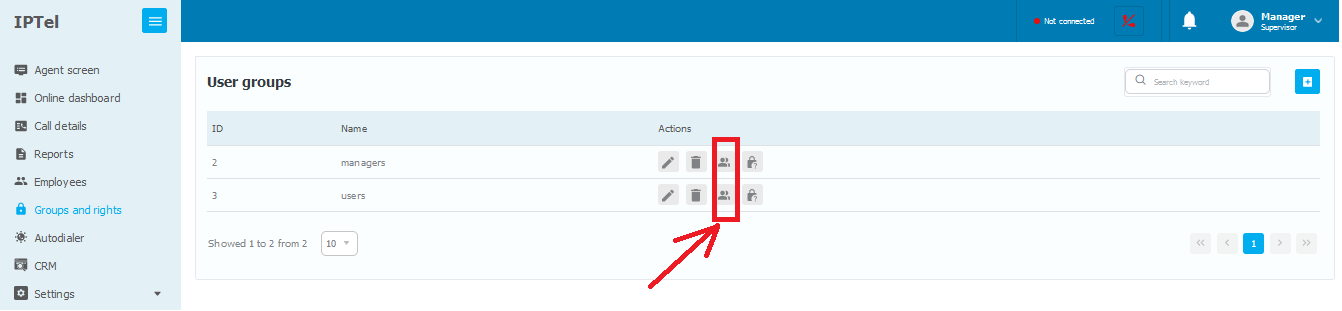
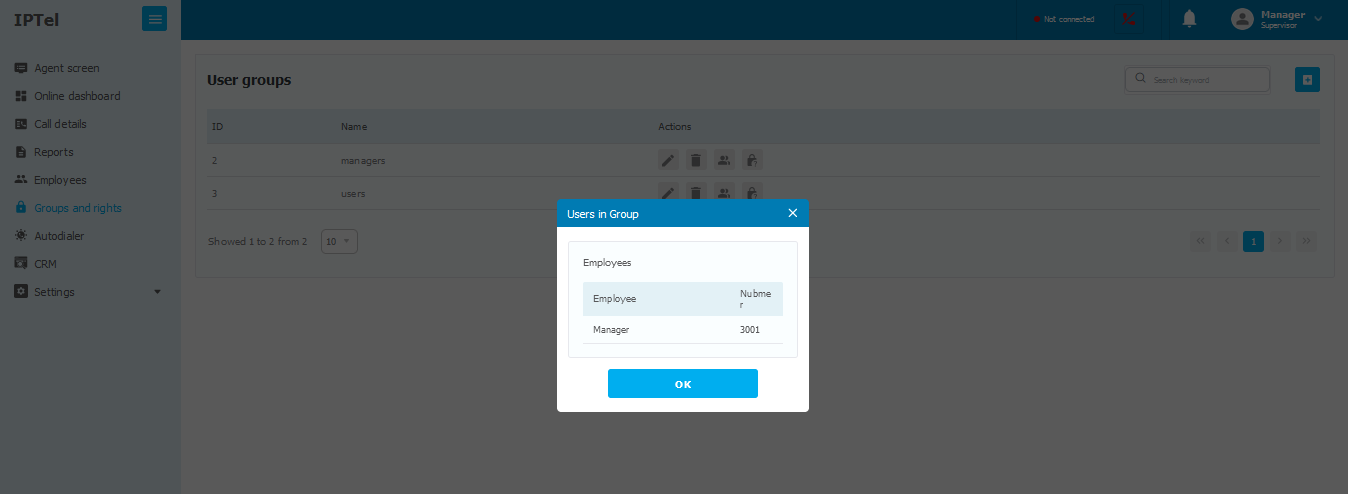
  • User groups aid in distributing responsibilities among different levels of employees. For example, administrators may manage users while operators focus on call processing.
  • Allocating users to groups facilitates system scalability and support, as access rights can be more accurately adjusted and changes controlled.

How it works

When creating a User Group, specific Roles are assigned to it, according to which Users added to this User Group will be allowed access to various elements of the System interface.


Viewing user groups

To view existing User Groups and their details:
1. Go to the Groups and Rights section.

2. On this screen, all User Groups created in the System will be displayed. To see the Employees associated with a specific User Group, click the button with a person's icon next to the Group of your interest.

3. The System will then show all Employees attached to this User Group.

4. If you want to see the permissions of a particular User Group, click on the button with a question mark next to the Group of your interest.

5. The System will then display all the permissions granted to users in the selected User Group.


Adding users

To add a User Group:

1. Go to the Groups and Rights section.

2. Click the Add User Group button at the top right of the screen.

3. Fill in the Group Name field, and in the center block, select the necessary permissions and roles to be granted to all participants of this User Group (if you encounter any difficulties regarding Roles, please contact our technical specialists, they will help you resolve any issues).

4. Once all the necessary fields are filled in, click the Submit button at the bottom of the screen. The system will add the User Group, and it will appear on the list.


Editing user groups

To edit a User Group, change its name, add or remove Roles:
1. Go to the Groups and Permissions section.

2. Click the pencil icon next to the Group you want to edit.

3. Make the necessary changes to the Group Name and roles, then click the Submit button at the bottom of the screen.

Deleting user groups

To delete a User Group:
1. Go to the Groups and Rights section.

2. Click the trash can icon next to the Group you want to delete (please note that the System will not allow deleting a Group if it contains employees for whom this group is the only one).

3. If everything is fine, the System will display a message "Group deleted successfully."

If you encounter any problems while deleting a User Group, please contact our technical specialists, they will help you resolve any issues.