Setting up the Zoiper softphone
1. Download the Zoiper softphone from the website. To do this, click the "Download" button for the corresponding operating system.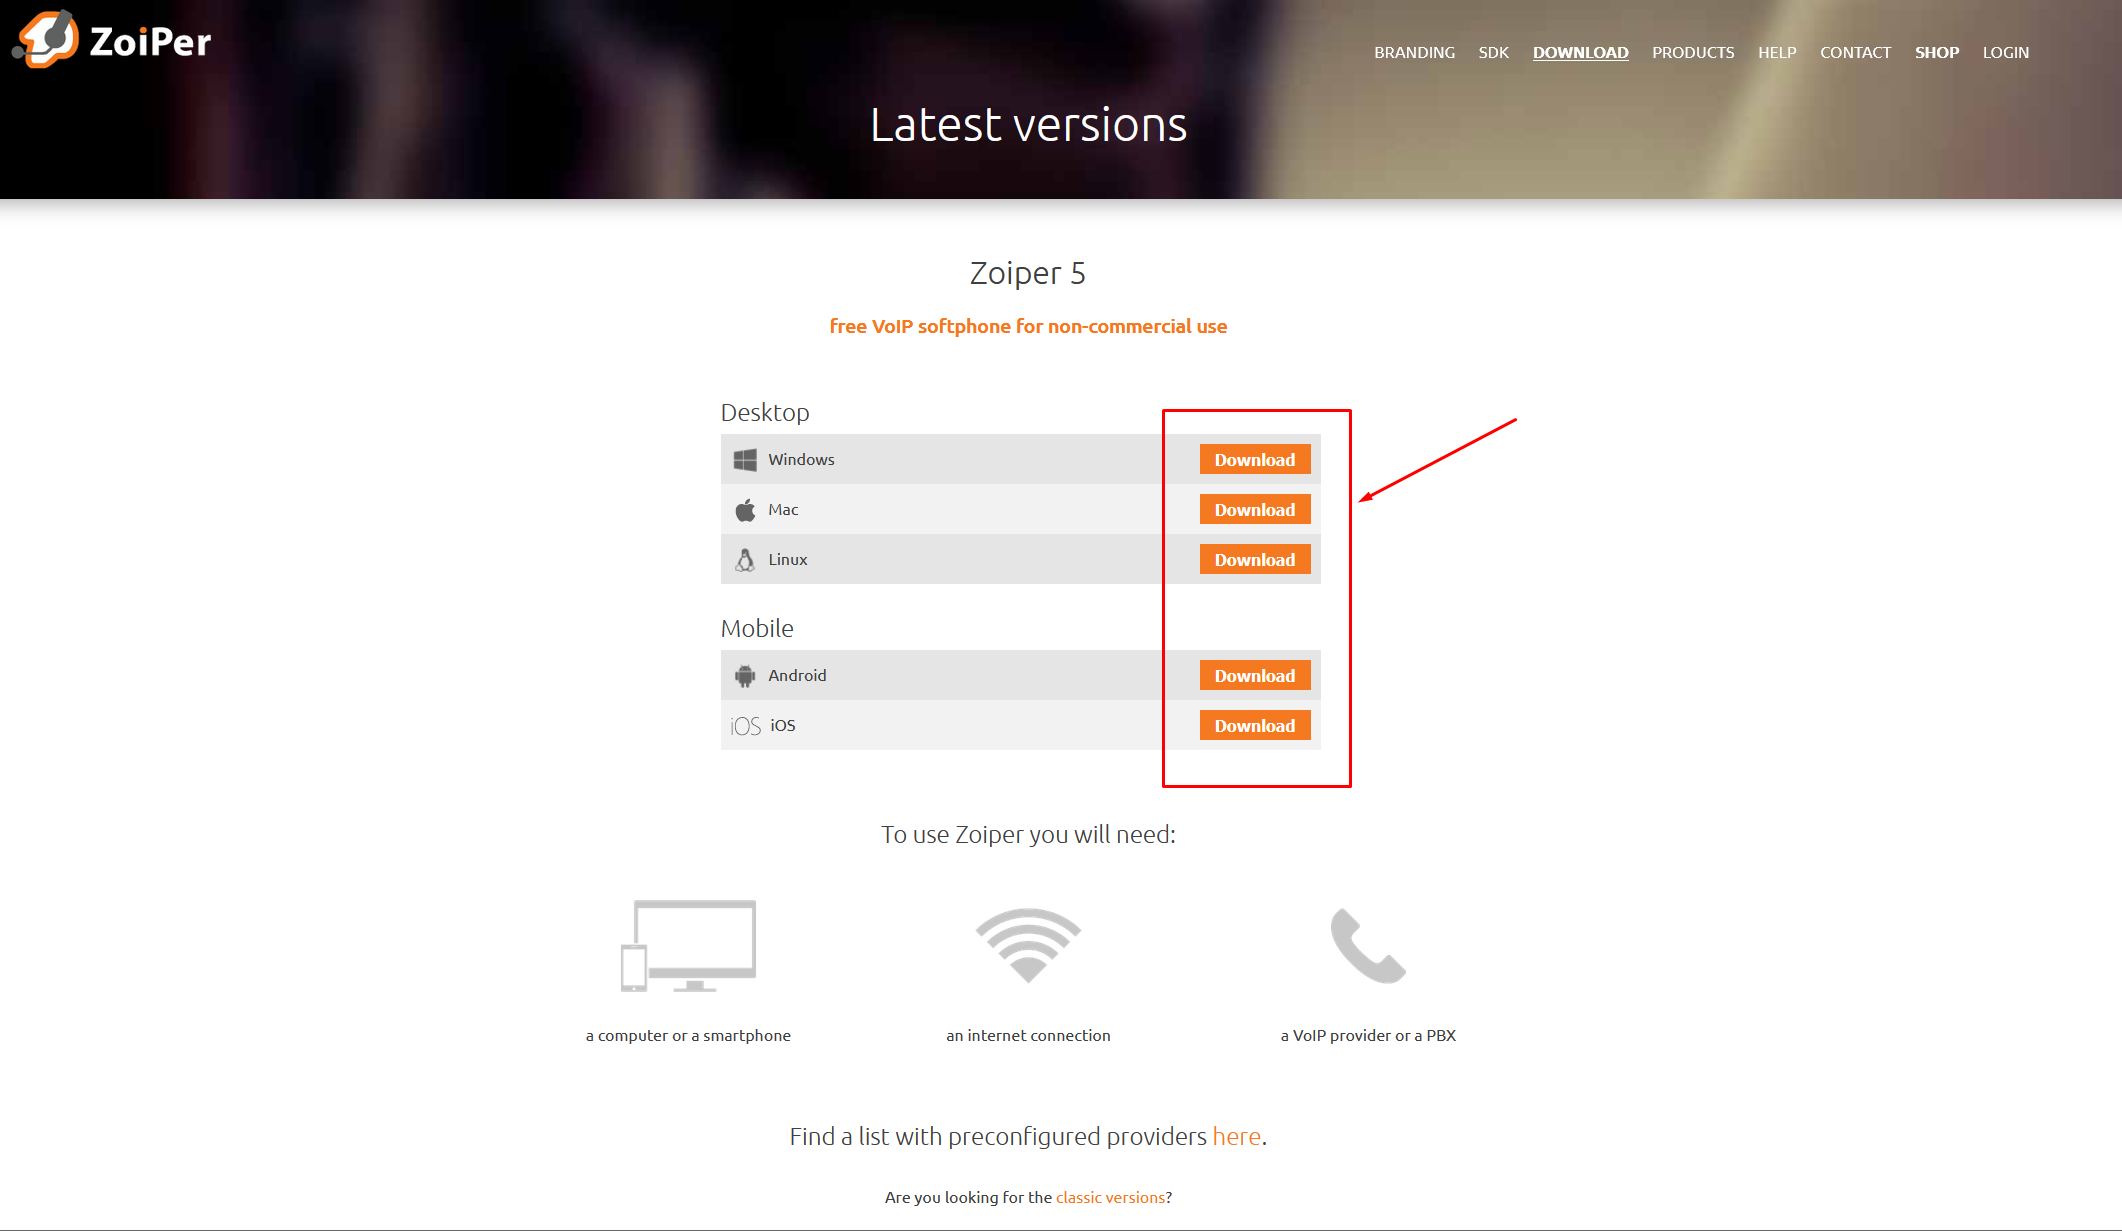
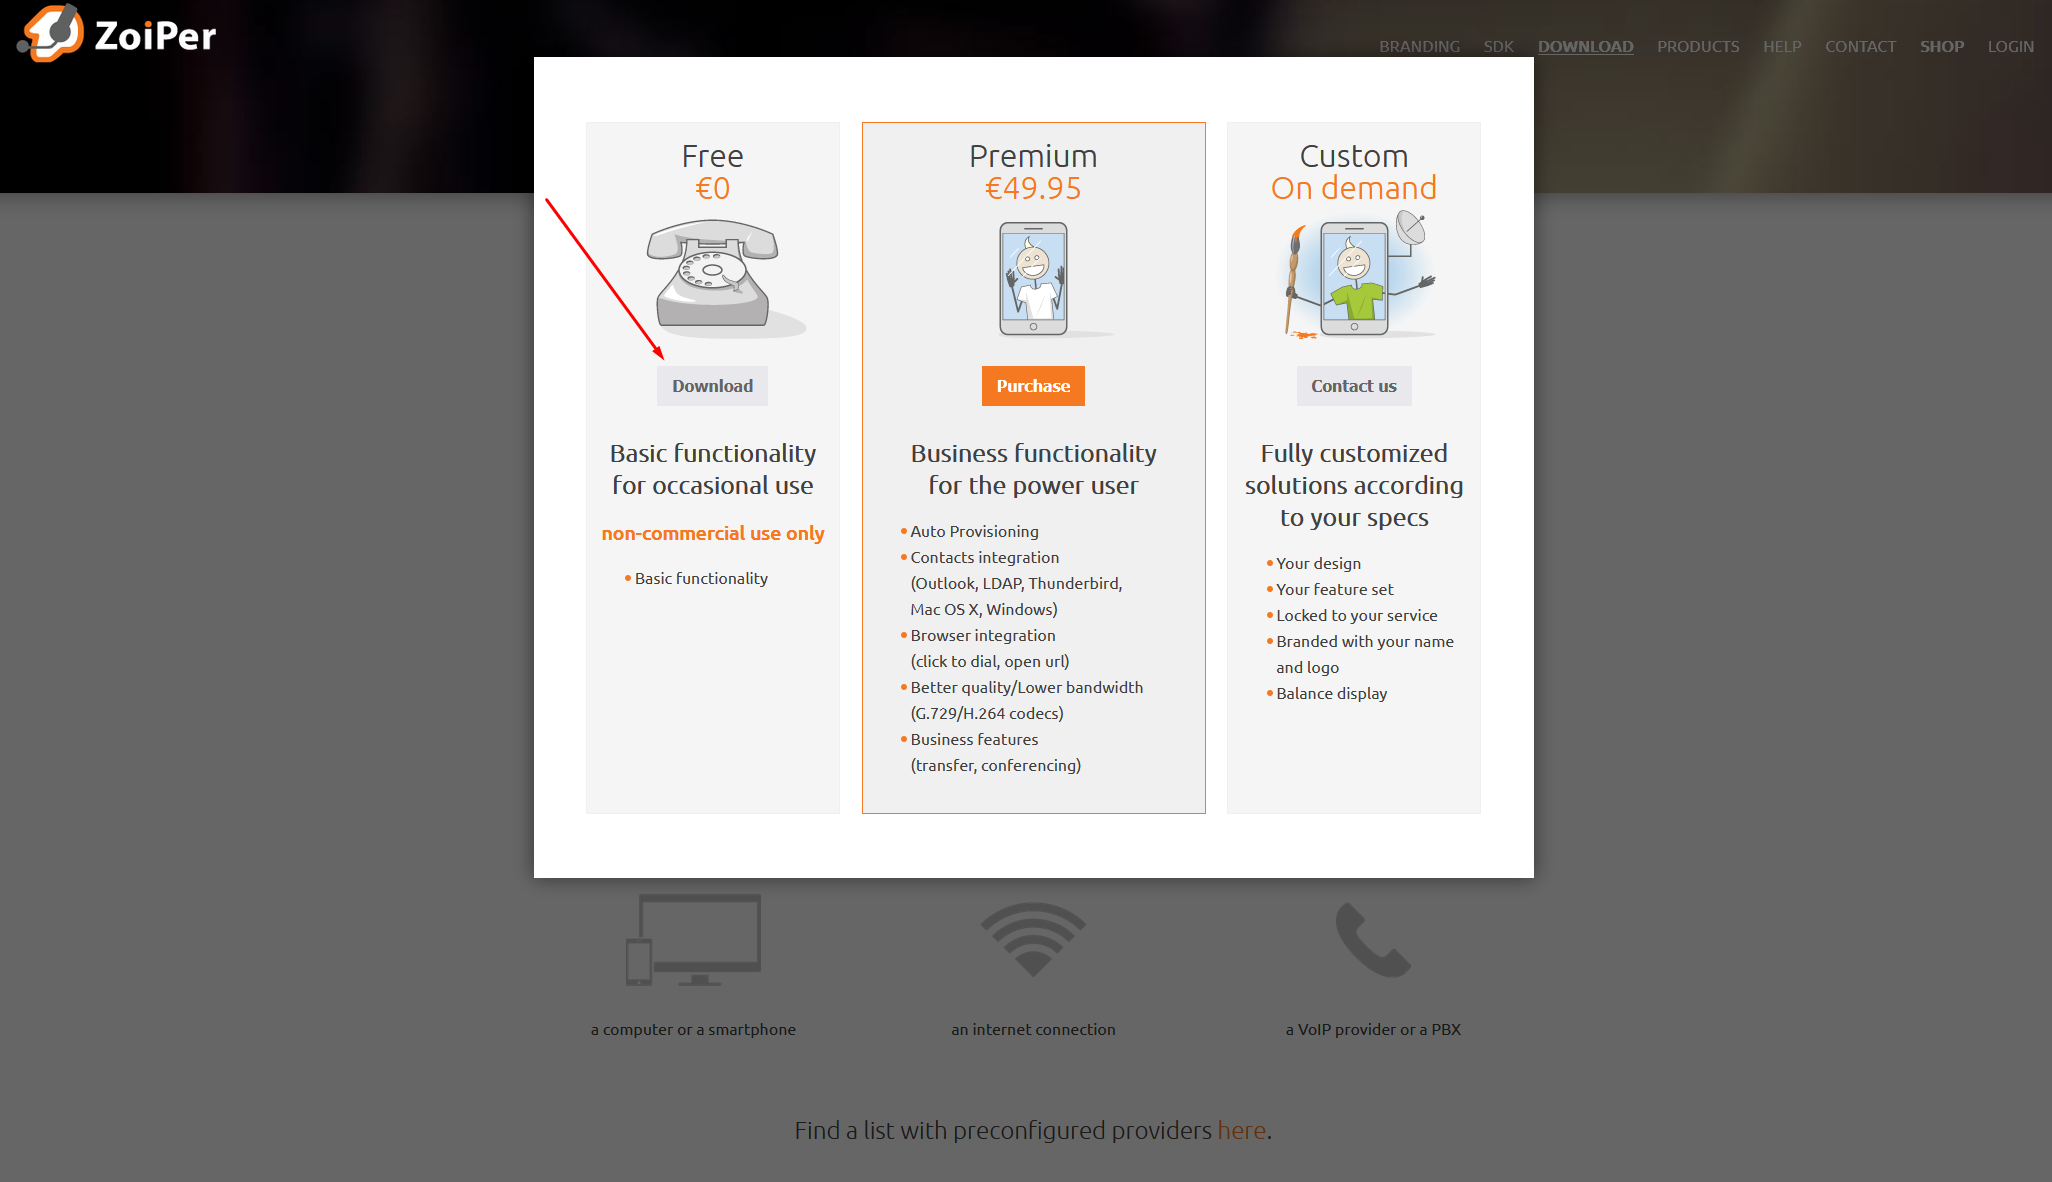
2. Choose the Free version of the app.
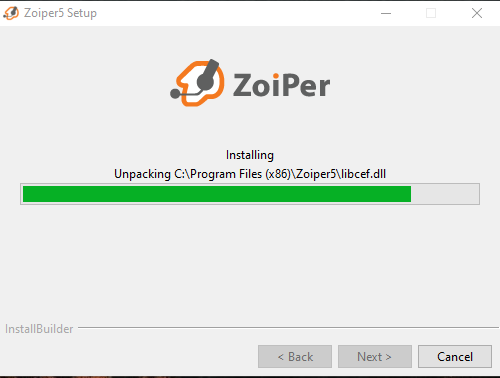
3. The file download will begin. After it's finished, run the downloaded file. You will enter the softphone installation menu.
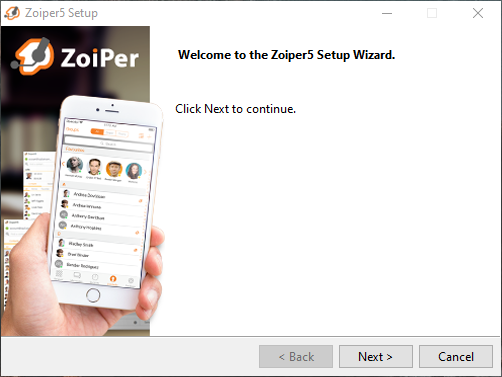
4. You can leave everything by default here, just click "Next." After that, the program will be installed.
5. Launch the app link that appears on your desktop and proceed to configure the softphone.
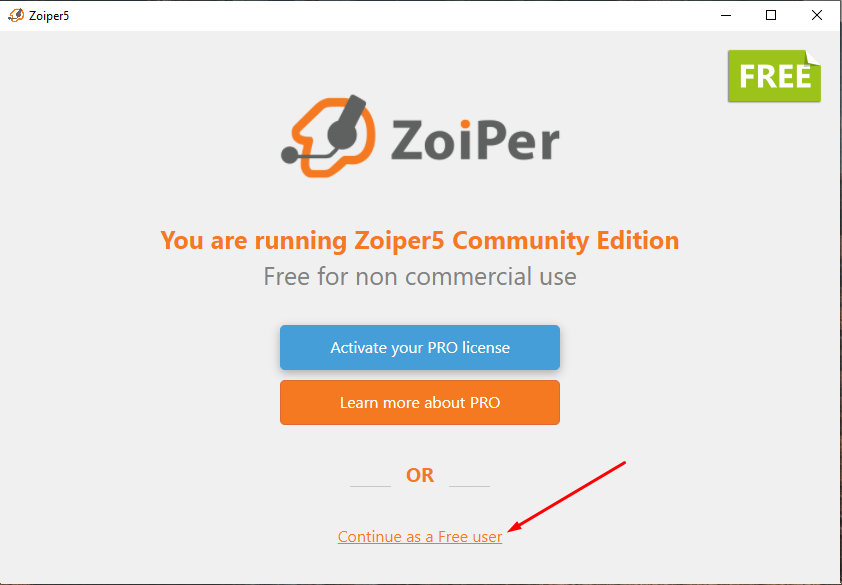
6. In the initial menu, select the "Continue as Free user" option.
7. In the next window, enter the login and password data for SIP users that you received via email.
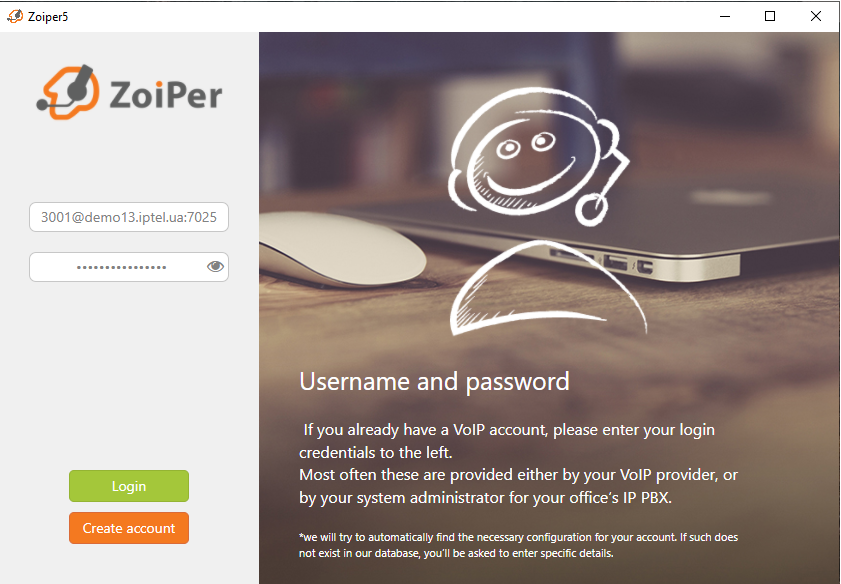
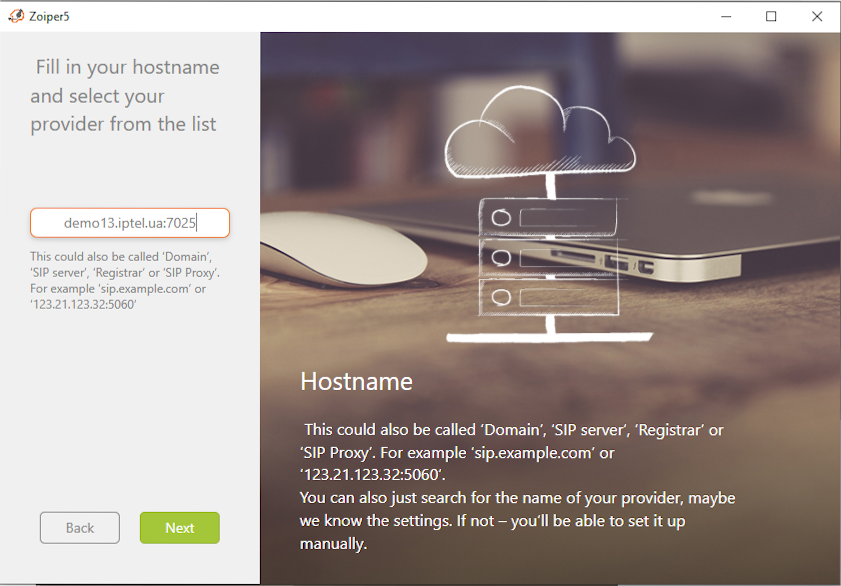
8. In the next window, the server address field will be automatically filled.
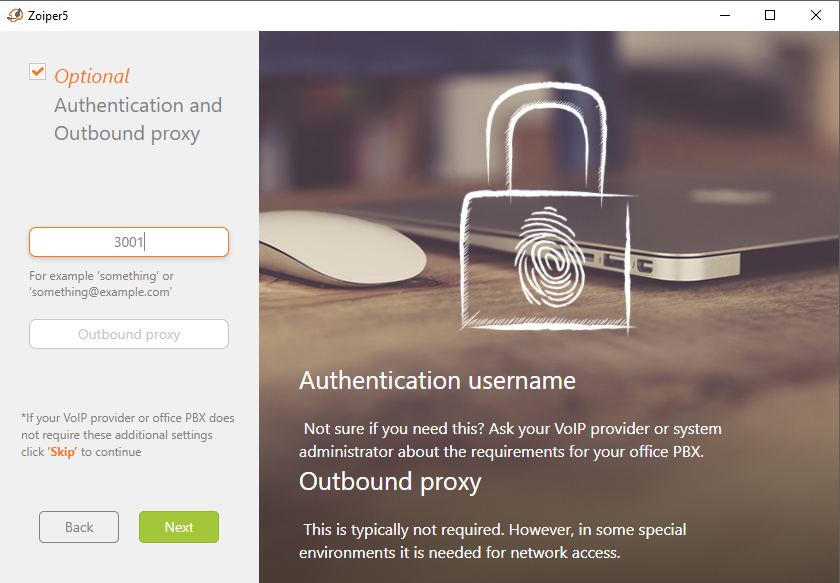
9. Check the box for optional settings and enter the login in the "Authentication" field.
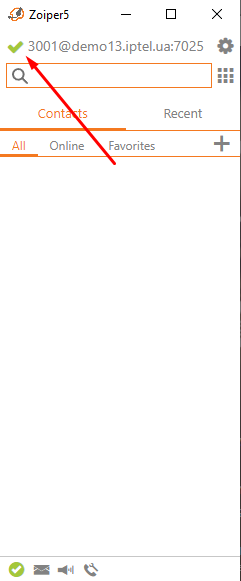
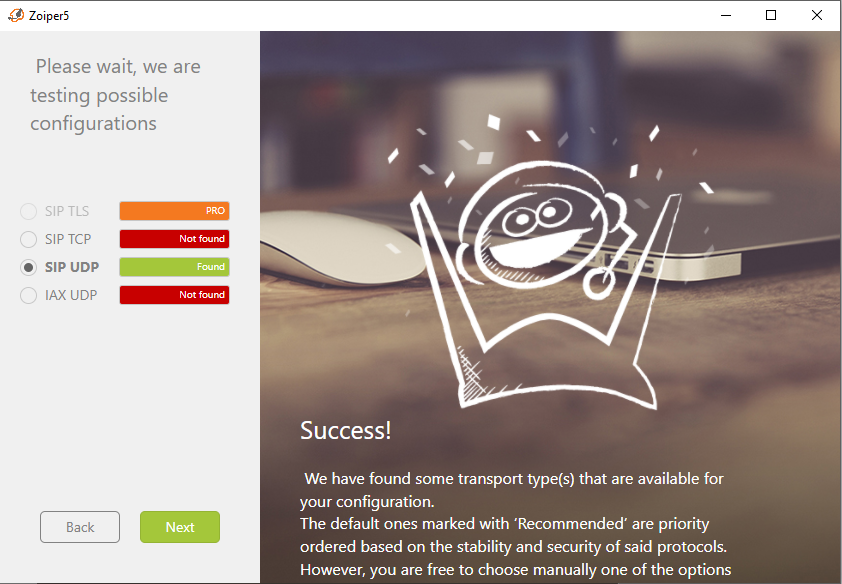
10. The system will connect your softphone to our system. If you don't see the "Success" message as shown in the picture below, then an error has occurred. Please contact our technical specialists; they will help you resolve any issues.
11. After that, click the "Next" button to go to the main Zoiper softphone window. If there is a green checkmark next to the created account, the program is ready to use.